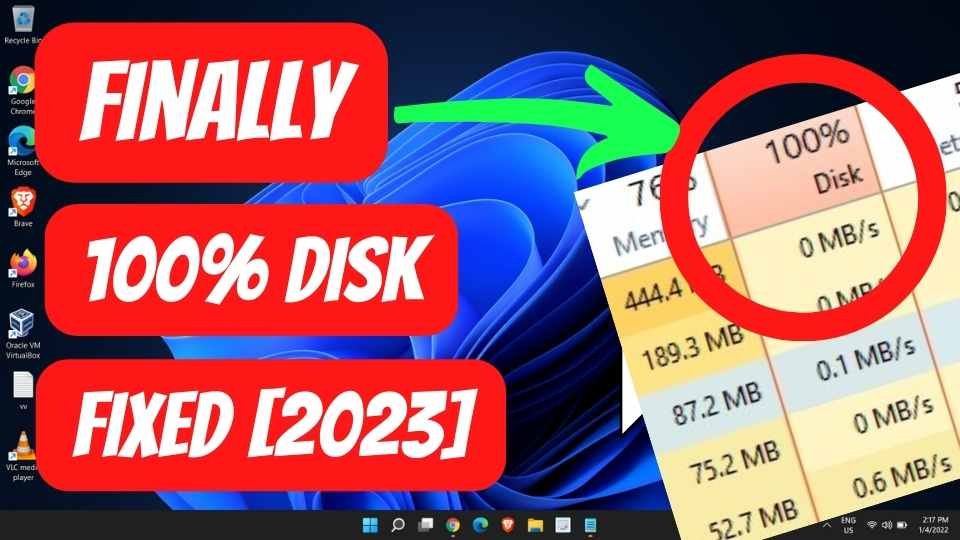
How To Fix 100 Percent Disk Usage on Windows 11/10? (Quick Fix)
January 10, 2024 | by easytechgeeks.com

Have you upgraded your laptop to Windows 11, but it still runs very slowly? If yes, then you must check the task manager. It will provide information regarding all the processes presently running on your computer.
One of the most popular problems for slowing down your laptop is 100 per cent disk usage. It means your disk has been utilised completely. Hence, it can no longer execute any program or command.
Installing corrupted files and malware may be the reason for maximum disk usage. You need to fix this issue as soon as possible as you cannot save any more files on your computer. It can even lead to hard drive failure.
How To Fix 100 Percent Disk Usage on Windows 11?
1. Reset Virtual Memory
When the RAM has no space, windows store files in virtual memory. If you face issues of 100 per cent disk usage, reset the virtual memory to fix it.
- Type the control panel in the search box.
- You have to click system and then click on the advanced system settings present on the right side.

- It will open a window of system properties. You have to click on the advanced tab and then click on settings.

- A new window will open. You need to go to the advanced tab and click on change to adjust the virtual memory.

- Now, you need to uncheck the paging file size for all drives.

- You have to change the maximum size option. Don’t set the value too high. It needs to be only 1.5 times the RAM size.
- Click the OK button after setting the value.
2. Clear out the temporary files. - You need to press the window + R keys at the same time. A dialogue box will appear on the screen where you need to write temp in the box and hit the enter button.

- A list of temp files will appear. You need to select them and delete them.

- Now, you can check whether you have fixed 100 per cent disk usage.
3.Disable SysMain(Superfetch) Service
Windows Vista introduced a service which is known as Superfetch. It is known as SysMain in Windows 10 and 11. This service helps to load heavy applications very quickly. However, this service can lead to 100 per cent disk usage for some users.
Are you experiencing such an issue? If yes, then you need to disable this service on your PC.
You can follow the below steps.
- You need to press window+R to open a dialogue box.
- You have to type services. msc and then click on enter.

- You will find a list of services from where you need to find SysMain.You need to double-click on it.

- The properties window will appear. The startup type needs to be changed to disabled, and then click on stop.

- Click Apply and then on the OK button.
- You will observe that the disk usage has been reduced immediately by 15 to 20 per cent.
4. Install Antivirus Software
One of the significant causes of maximum disk usage is malware. You must do a virus scan to remove the malware and virus from your computer. You should not depend on Windows Defender for virus scans, which are preinstalled on the computer.
RELATED POSTS
View all


